
Branding
The Branding page of the Vendor Portal allows you to apply your own branding to the UI that customers use to deploy and manage your software.
A well-configured Customer Portal should provide all the information your end users need to install, operate, and troubleshoot your software independently.
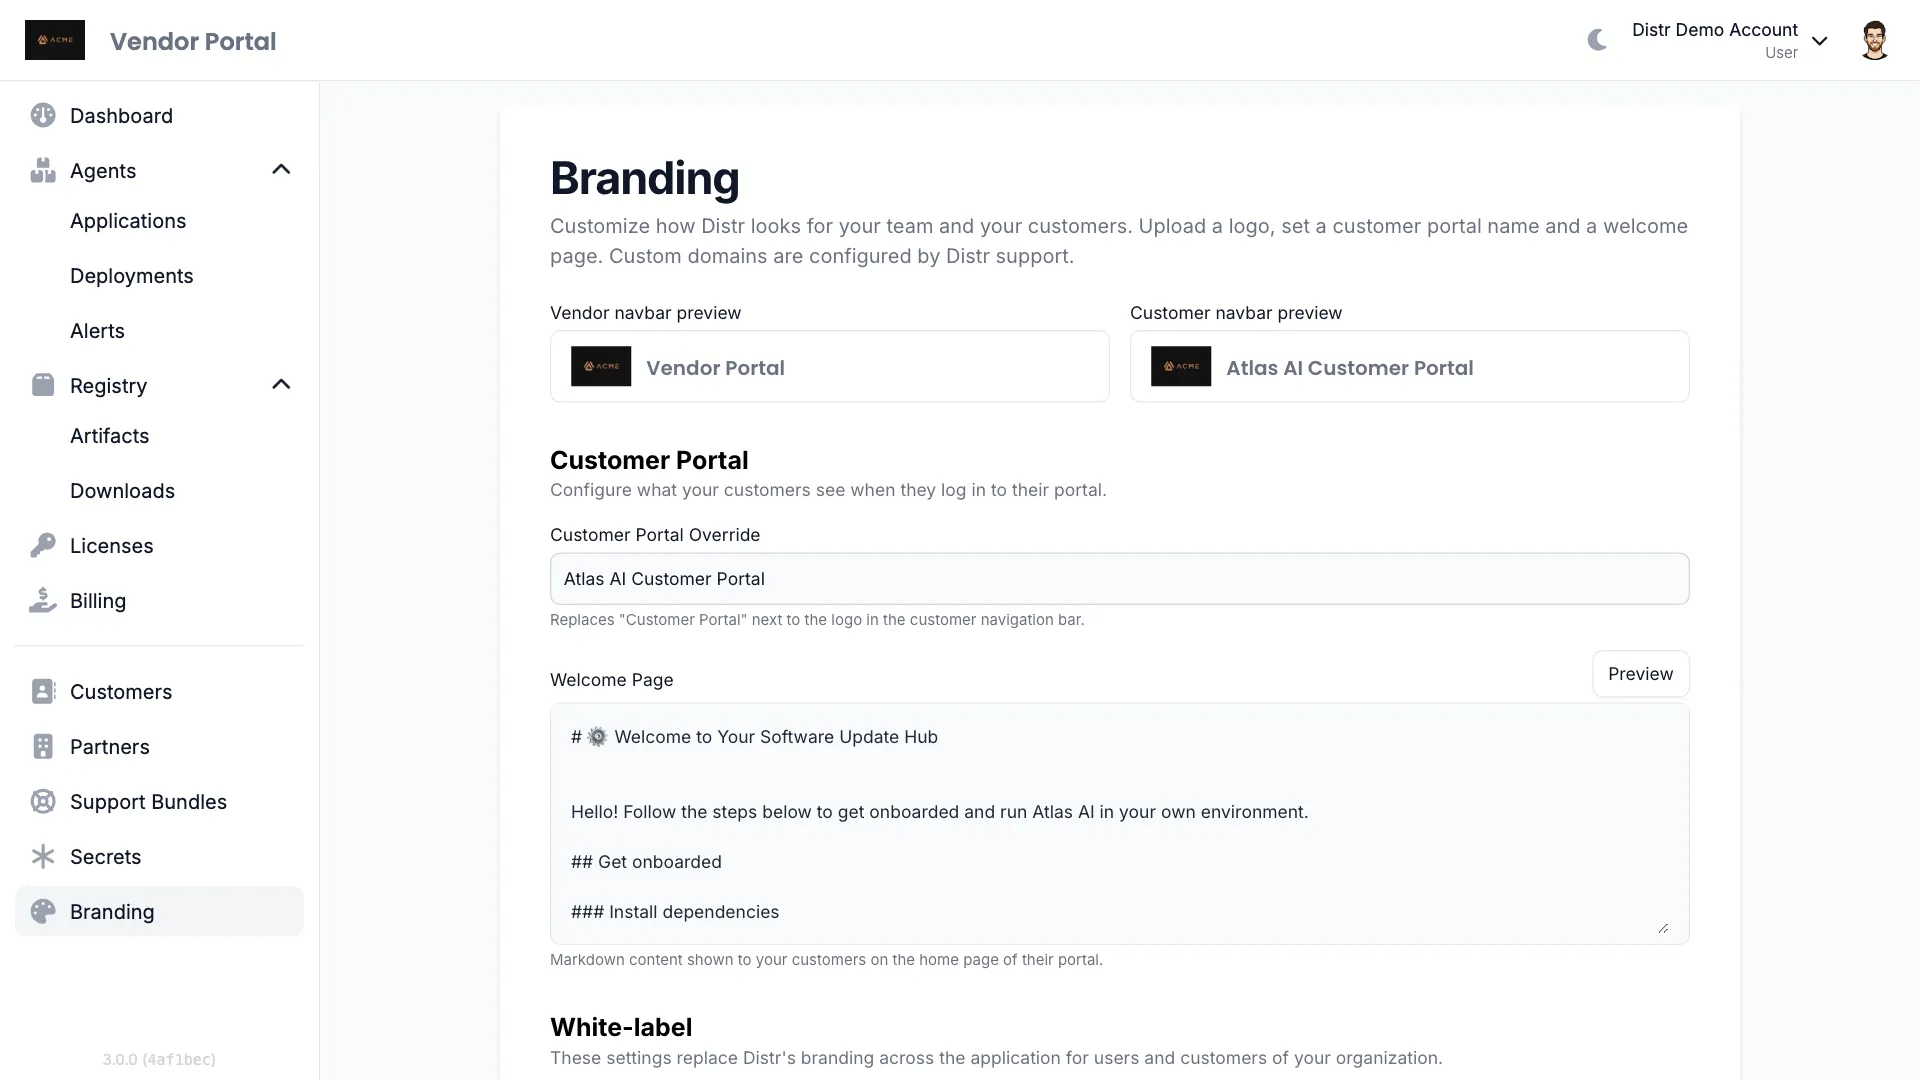
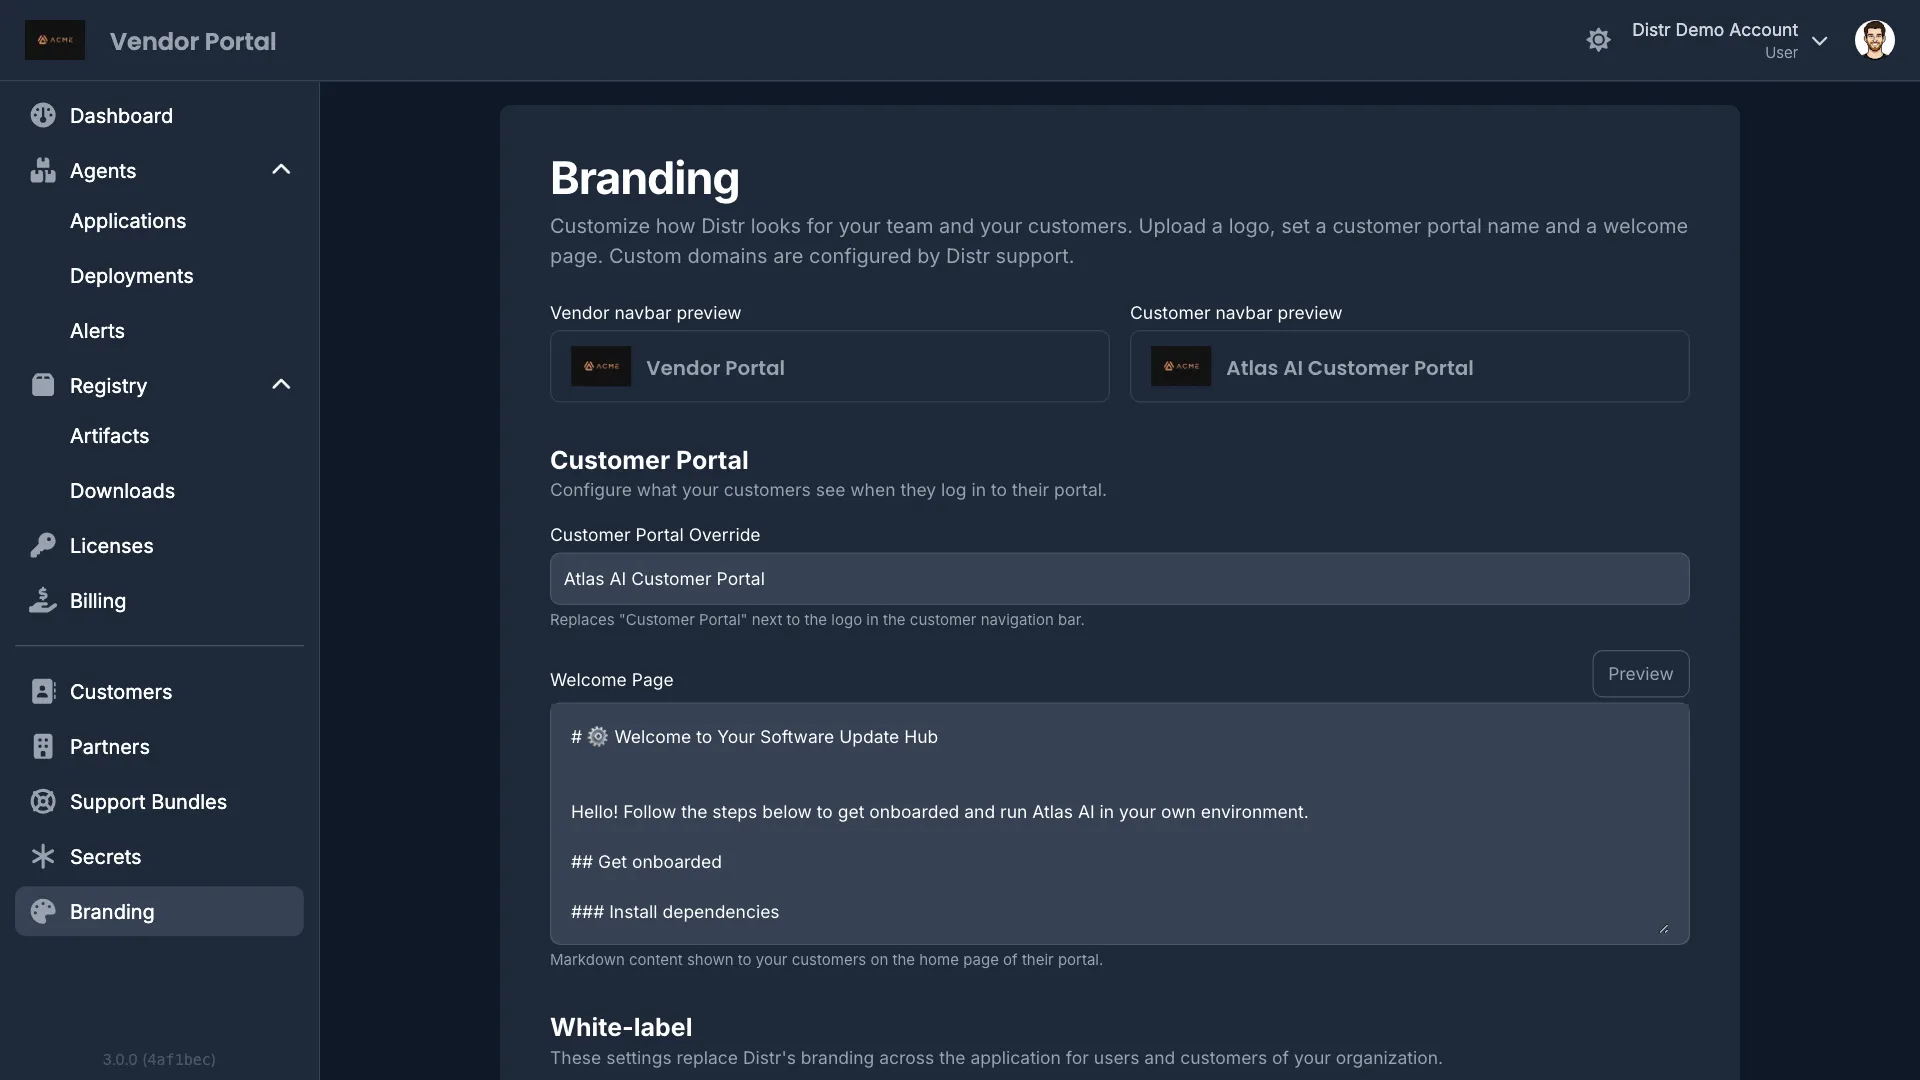
To get started, go to the Branding tab in the sidebar of the Vendor Portal. At the top of the page, live previews show what the navigation bar will look like for your own team in the Vendor Portal and for your customers in the Customer Portal.
Customer Portal
Section titled “Customer Portal”These settings configure what your customers see when they log in to their portal:
- Customer Portal Override: Optional. Replaces the “Customer Portal” text next to the logo in the customer navigation bar. If not set, your customers see “Customer Portal”.
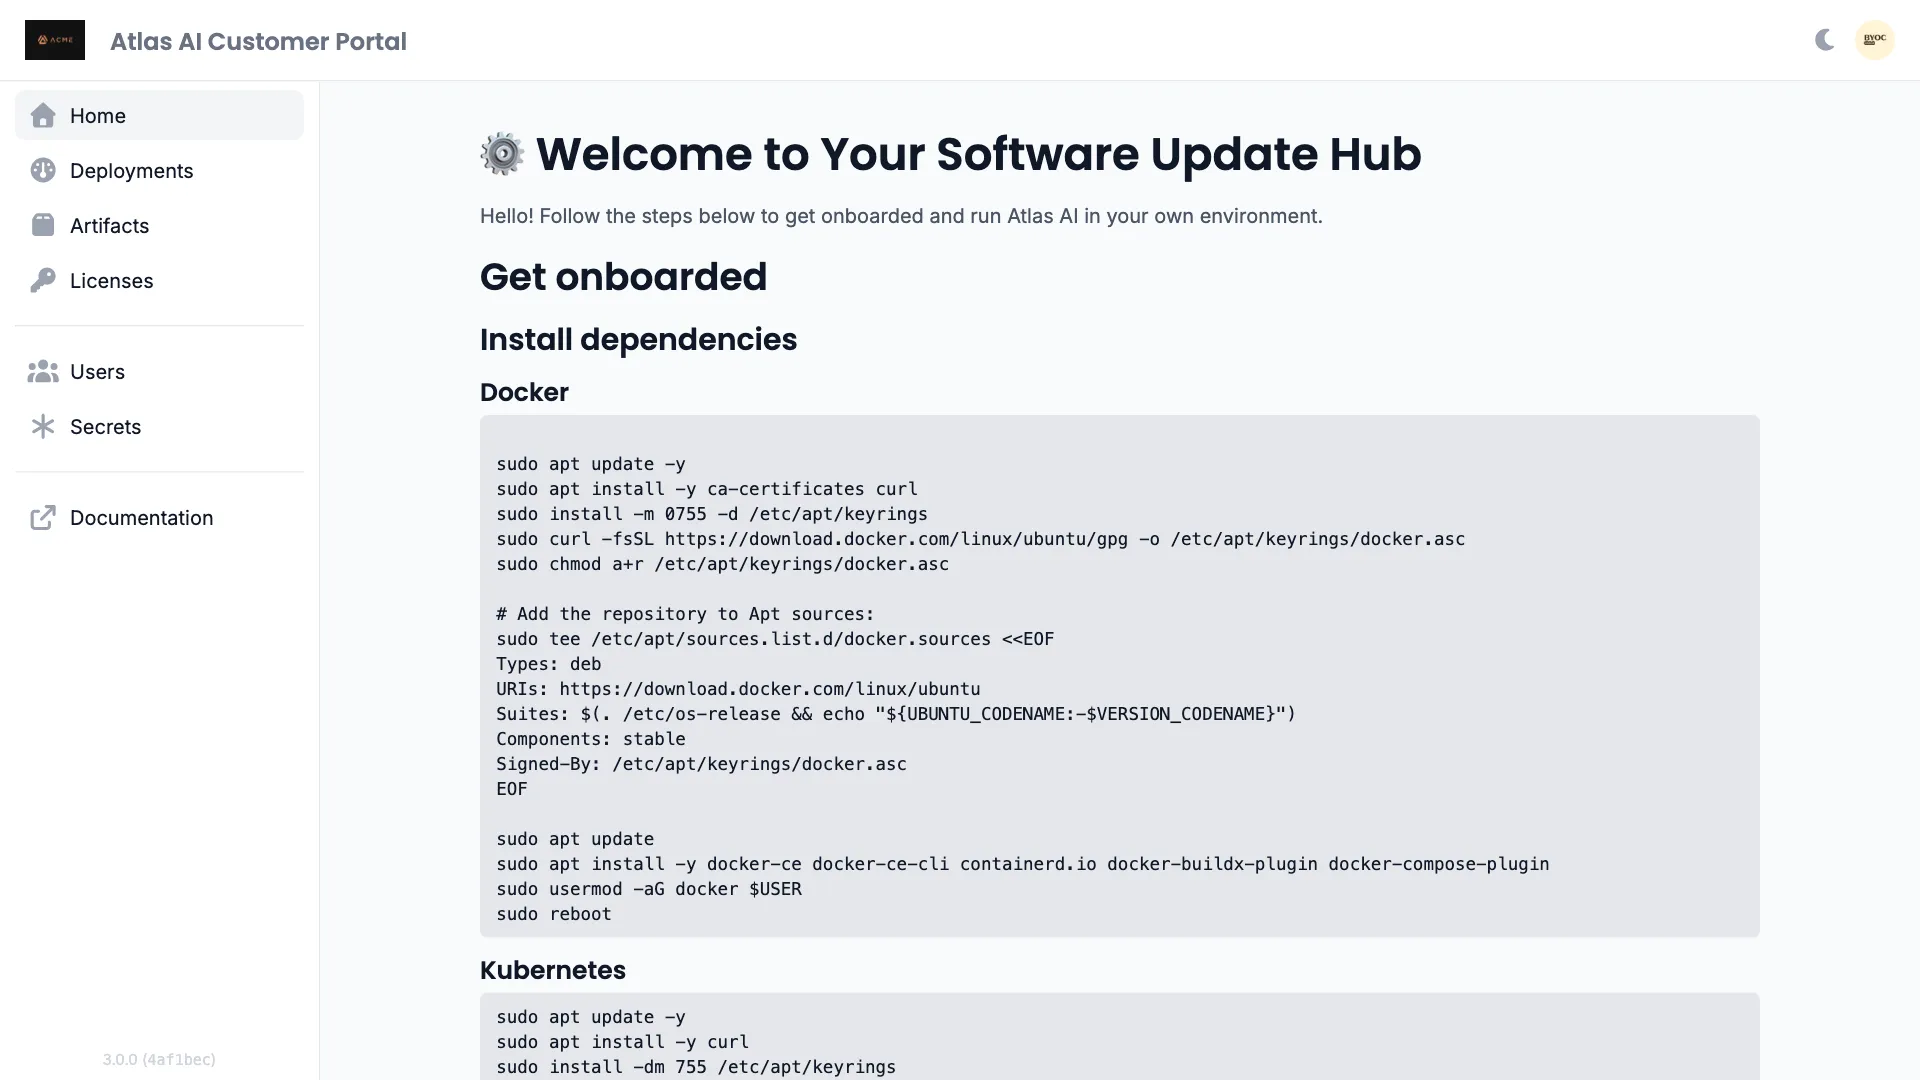
- Welcome Page: Markdown content shown to your customers on the home page of their portal. Recommended content:
- Installation and setup instructions
- Connection and upgrade instructions
- Troubleshooting tips
- Support contact details
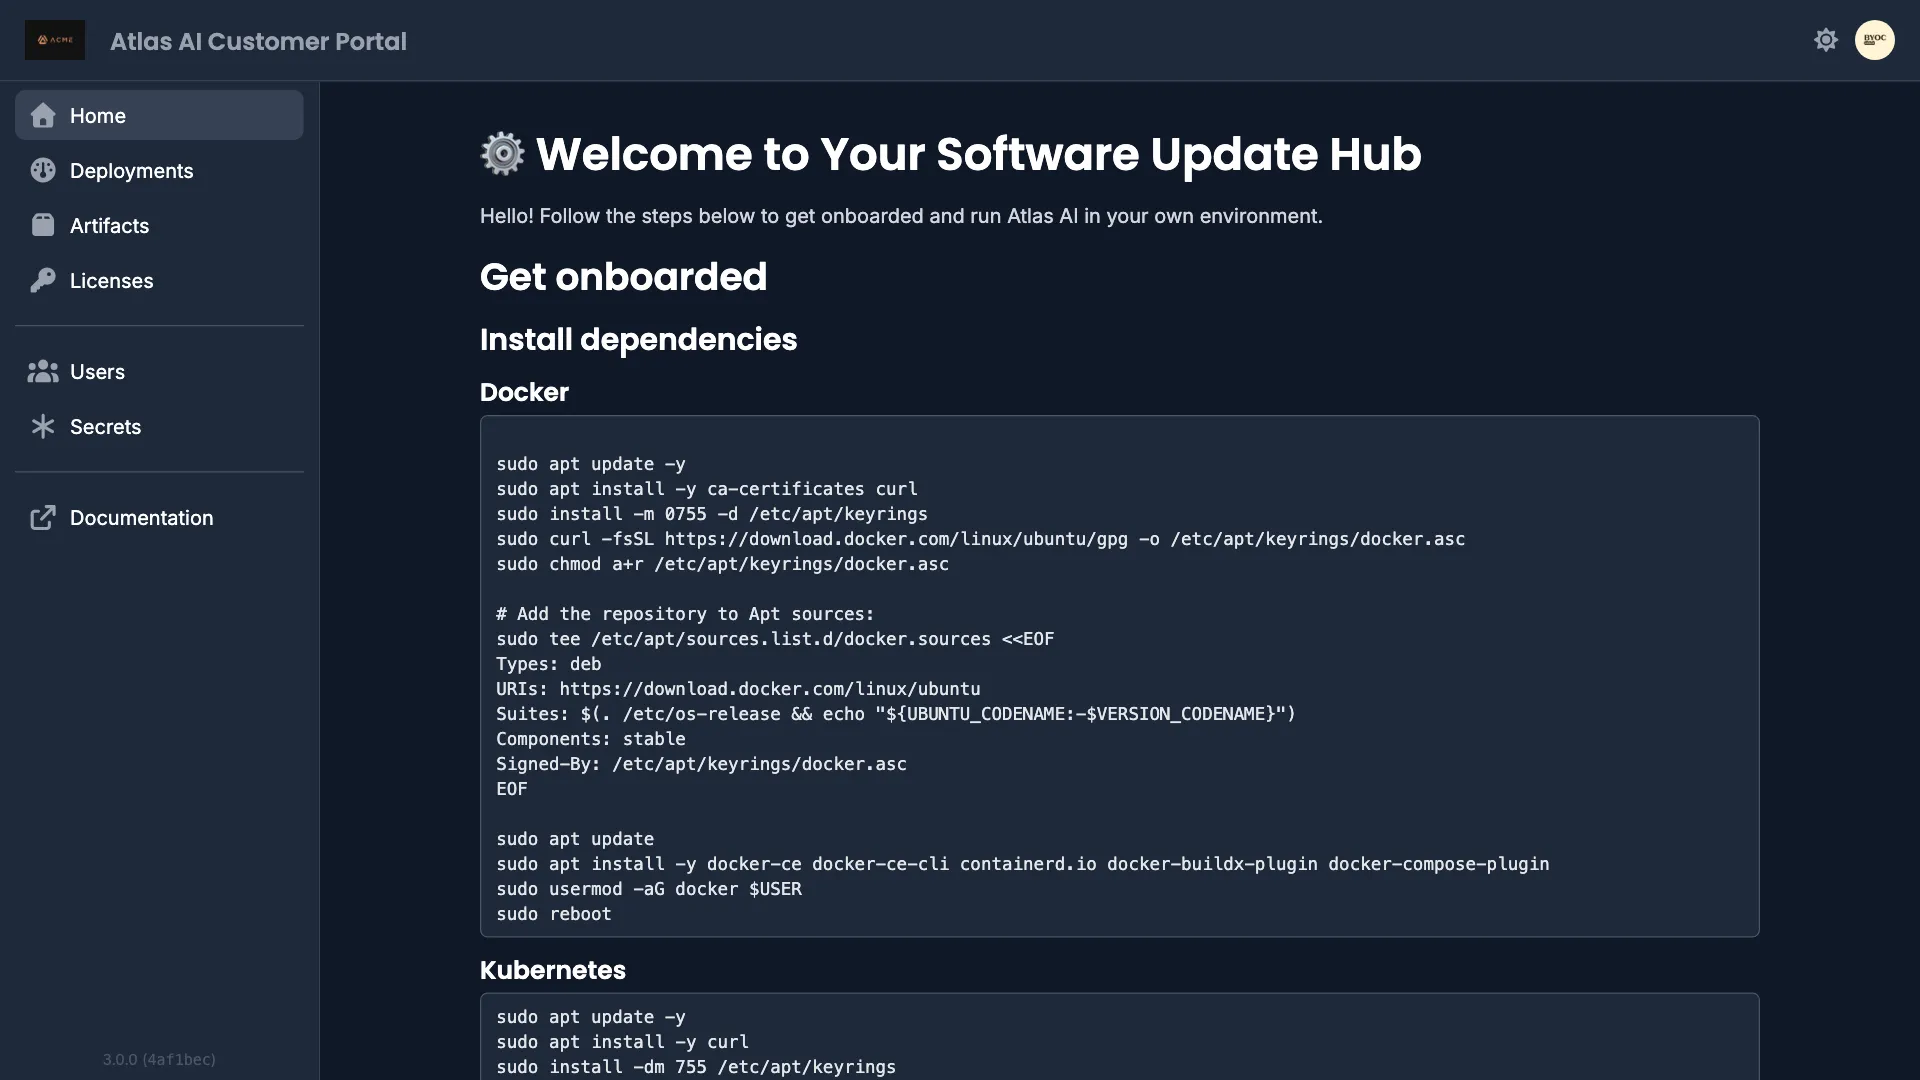
After saving, the Customer Portal is rebranded for your end users:
White-label
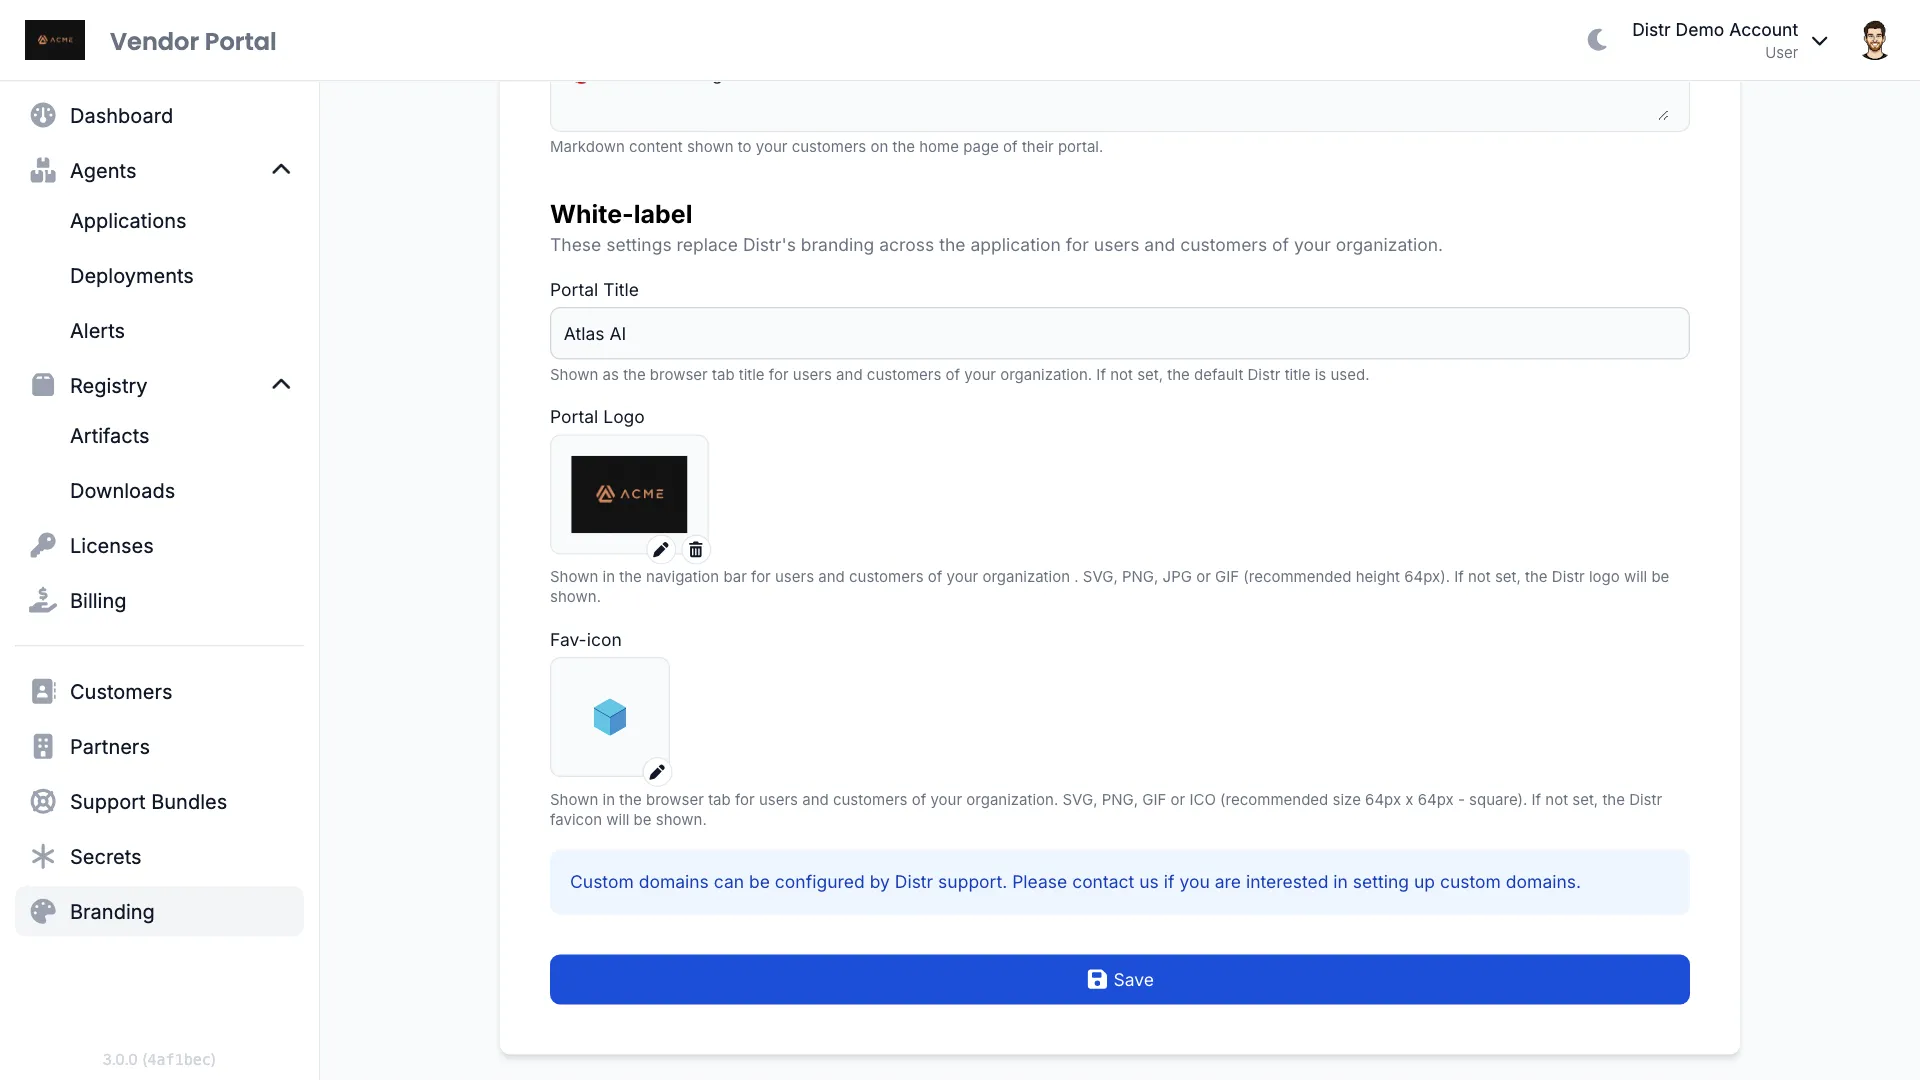
Section titled “White-label”These settings replace Distr’s branding across the application for users and customers of your organization:
- Portal Title: Shown as the browser tab title. If not set, the default Distr title is used.
- Portal Logo: Shown in the navigation bar for users and customers of your organization, and on the login page of your custom domain. SVG, PNG, JPG or GIF with a recommended height of 64px. If not set, the Distr logo is shown.
- Favicon: Shown in the browser tab. SVG, PNG, GIF or ICO with a recommended size of 64px x 64px (square). If not set, the Distr favicon is shown.
None of these settings require a custom domain: they apply to all logged-in users and customers of your organization on app.distr.sh as well. With a custom domain, they additionally apply to unauthenticated pages such as the login page.
Custom Domains
Section titled “Custom Domains”For a fully white-labeled experience, Distr supports custom domains for the Customer Portal and the artifact registry. When your portal is accessed via your custom domain, all Distr-specific branding is removed and your white-label settings also apply to unauthenticated pages such as the login page.
Organization admins can set up custom domains self-service under Settings → Organization → Custom Domains & Identity Provider, in the Vendor Portal, Customer Portal and Registry sections:
- Vendor Portal domain (e.g.
app.your-company.com): Serves the web UI and API for your own team (and your partners, if partner management is enabled). It also serves the artifact registry under the/v2/path, so a single domain is usually all you need. - Customer Portal domain (optional, e.g.
portal.your-company.com): Serves the Customer Portal for all of your customers. When it is set, invitation links, password resets and notification mails sent to customer users point at it instead of your Vendor Portal domain; without it, they use your Vendor Portal domain like everyone else. - Registry domain (optional, e.g.
registry.your-company.com): Only needed if you want a separate hostname for the artifact registry.
Each of the two optional domains starts collapsed behind its own checkbox, so the page only asks for the one domain most organizations need. Tick a checkbox to enter that domain.
Enter the domain as a bare hostname (no https://) and add it.
Then create a CNAME record at your DNS provider, pointing your domain at the target shown below it; the copy button next to the target puts it on your clipboard.
The TLS certificate is issued automatically on the first request once the DNS record has propagated — no certificate upload or renewal handling required.
Each domain shows a status panel — green once its CNAME record resolves to the expected target, red with the reason otherwise (e.g. no record found, or it points somewhere else) — along with when it was last checked. Use the reload icon next to the panel to check again after updating your DNS record, without waiting for propagation to be picked up on its own.
A domain is only used for links, mails, agent manifests and registry URLs once that check has succeeded; until then everything keeps using the default host, so a domain that is not set up yet never sends anyone to a hostname that does not answer. The check is repeated in the background, and a domain whose record is removed or repointed later falls back the same way. Point your domain at the target with a CNAME and not with an A record: the address behind the target can change, and only the CNAME follows it.
A customer that needs its own hostname and its own identity provider, rather than sharing your customer portal domain, can get one: grant it the Custom Identity Provider feature in the customer list, described in Custom Identity Provider.
On self-hosted instances, the Custom Domains section only appears when the instance is configured for custom domain self-service. See the configuration reference for the required setup.
Custom Email
Section titled “Custom Email”By default, all transactional e-mails — invitations, e-mail verifications, password resets, license key updates and deployment notifications — are sent by Distr. To send them from your own domain instead, configure your SMTP server under Settings → Organization → Email Sending Provider:
- Sender address (e.g.
notifications@your-company.com): The address your users and customers see as the sender. - SMTP host and port: Your mail provider’s SMTP endpoint, e.g.
smtp.your-company.comon port587. - Username and password: Leave both empty to connect without authentication.
- Use implicit TLS: Enable it if your provider expects a TLS connection right away instead of an upgrade via STARTTLS, which is usually the case on port
465.
Use Send test email to send a test message to your own address before saving. A failed test reports the error from your SMTP server verbatim, so you can see exactly what to fix.
Your SMTP server must be authorized to send for the domain of your sender address. Set up SPF, DKIM and DMARC records for that domain at your DNS provider as documented by your mail provider — otherwise recipients may reject your e-mails or classify them as spam.