Container Registry
A quick guide to configuring and using the Distr Artifact Registry for secure, tag-based software distribution.
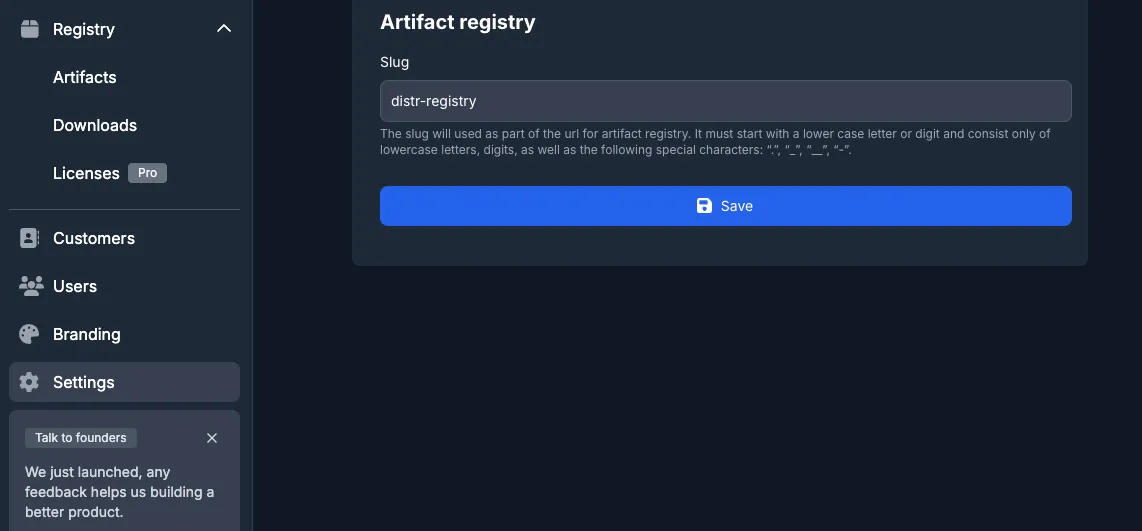
1. Set your Registry Slug
Section titled “1. Set your Registry Slug”Before you can push or pull artifacts, you must configure a registry slug at the organization level. This slug becomes part of your registry URL.

2. Authenticate with a Personal Access Token
Section titled “2. Authenticate with a Personal Access Token”Generate a Personal Access Token (PAT) in your Distr account. Use this token to log in to the registry:
echo "YOUR-ACCESS-TOKEN" | docker login registry.distr.sh:8585 --password-stdin -u -3. Push Your First Artifact
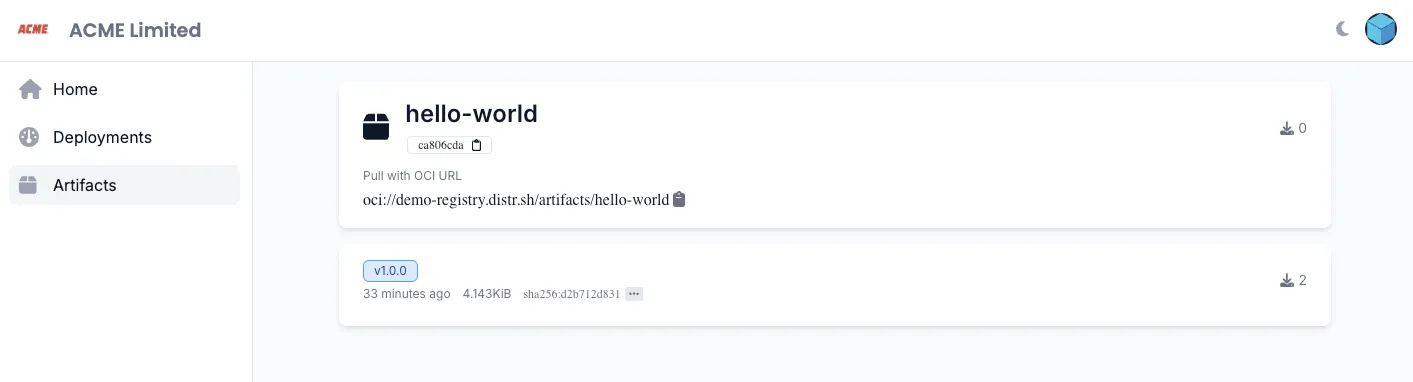
Section titled “3. Push Your First Artifact”Now that you’re authenticated, you can start pushing artifacts to the registry.
Before uploading, you need to tag your artifact using the correct registry slug and version.
You can try it with a sample image:
docker pull hello-worlddocker tag hello-world registry.distr.sh/slug/hello-world:1.0.0docker push registry.distr.sh/slug/hello-world:1.0.0Replace slug with your configured registry slug, and 1.0.0 with your desired version tag.
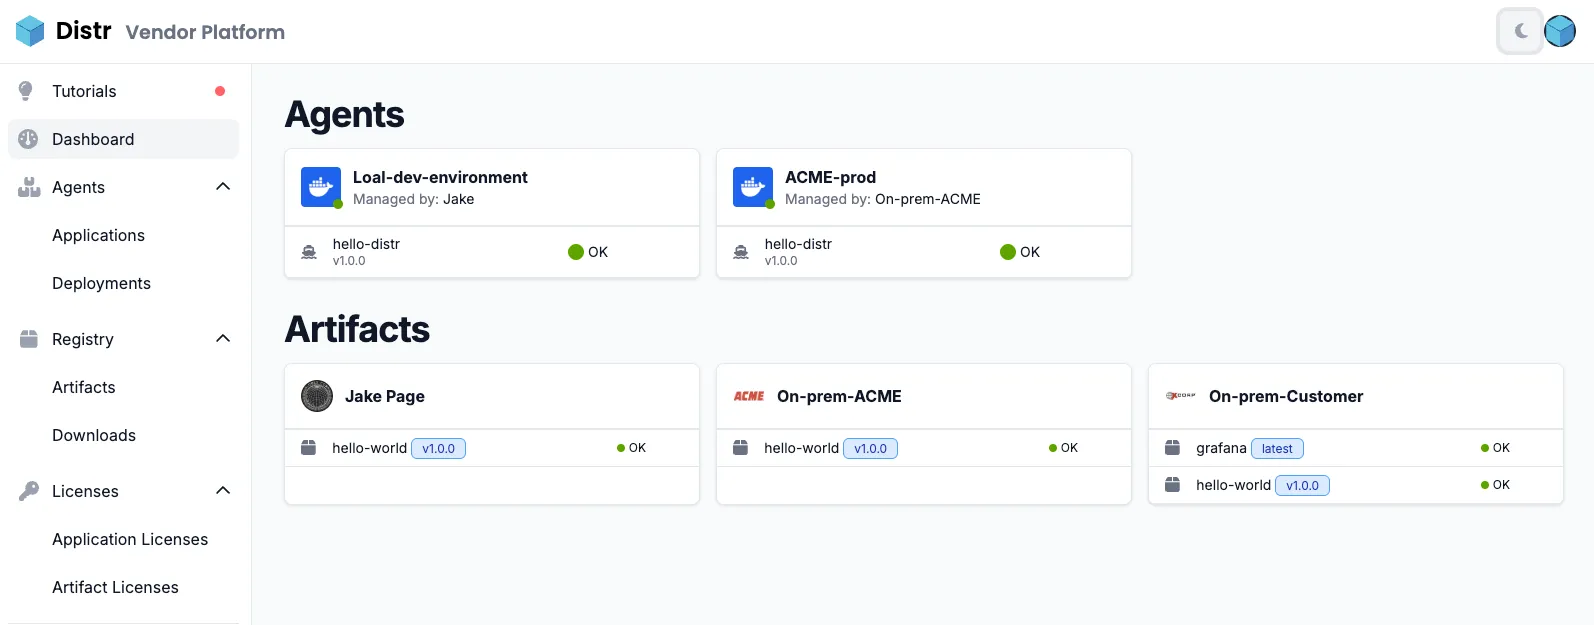
4. Monitor Usage
Section titled “4. Monitor Usage”- Use the Distr dashboard to view artifact pull counts, customer usage, and download analytics.
- Use the Downloads panel to view a chronological list of all downloaded artifacts, including which user downloaded them and from which IP address.
- The registry only supports immutable tags, once pushed, a tag cannot be changed.
5. Customer Access
Section titled “5. Customer Access”- Customers should authenticate with their own PAT and can only pull artifacts they are licensed for.
- The customer portal provides a simplified view, the registry UI only shows the artifacts and versions that are accessible to the user.