End-customer view of Distr
As an end customer, you will be given access to a Customer Portal by the software vendor. The portal you will have access to two key features:
- The artifact registry for downloading software distributed by your vendor
- The deployment section for managing applications with Distr agents. Depending on your use case, you might use only one or both of these features.
This guide walks you through using both of the features.
Registry quickstart from the customer portal
Section titled “Registry quickstart from the customer portal”A typical onboarding journey looks like this:
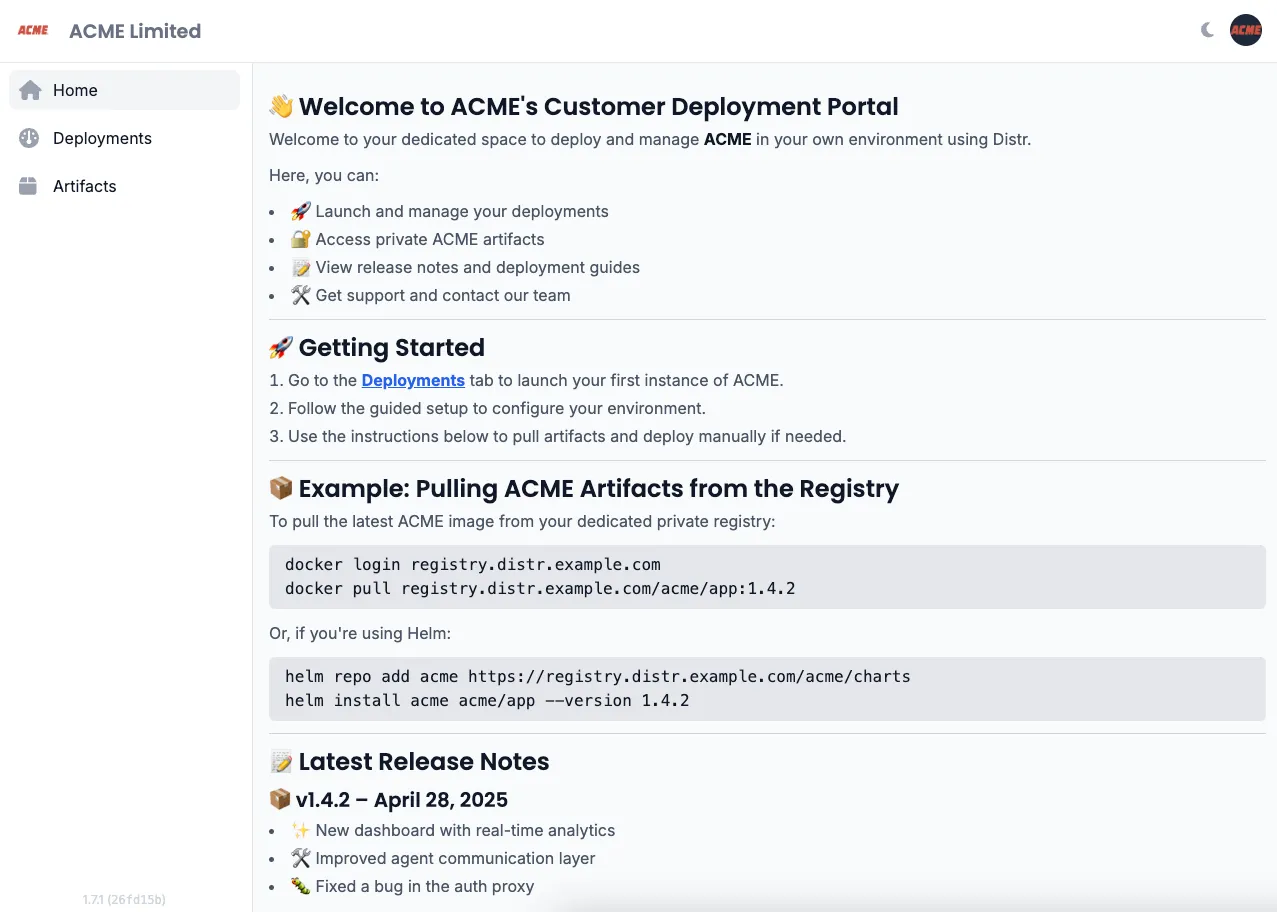
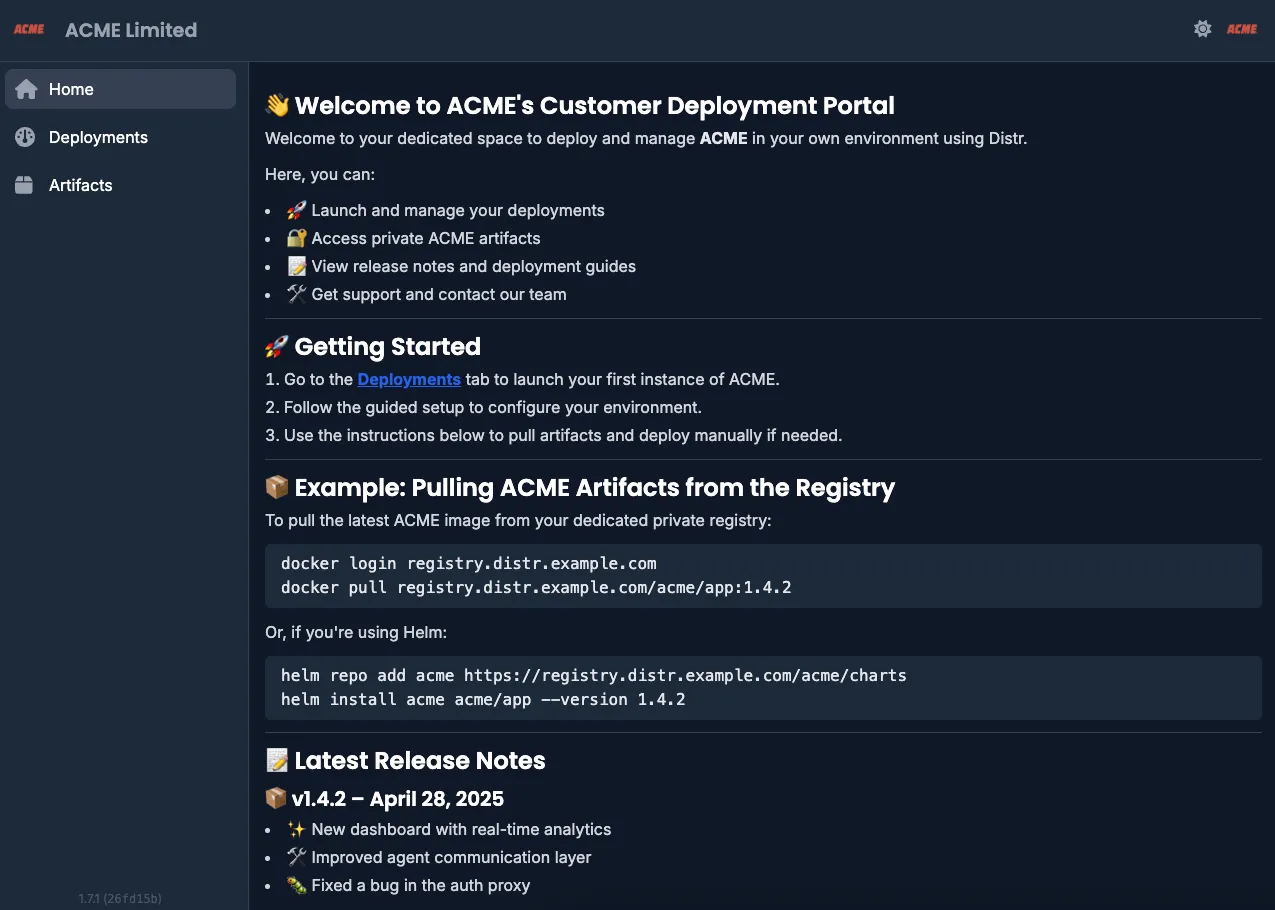
1. Access the Customer Portal Dashboard
Section titled “1. Access the Customer Portal Dashboard”Here you will view release notes and vendor-specific software information in your dashboard.
2. View Available Artifacts
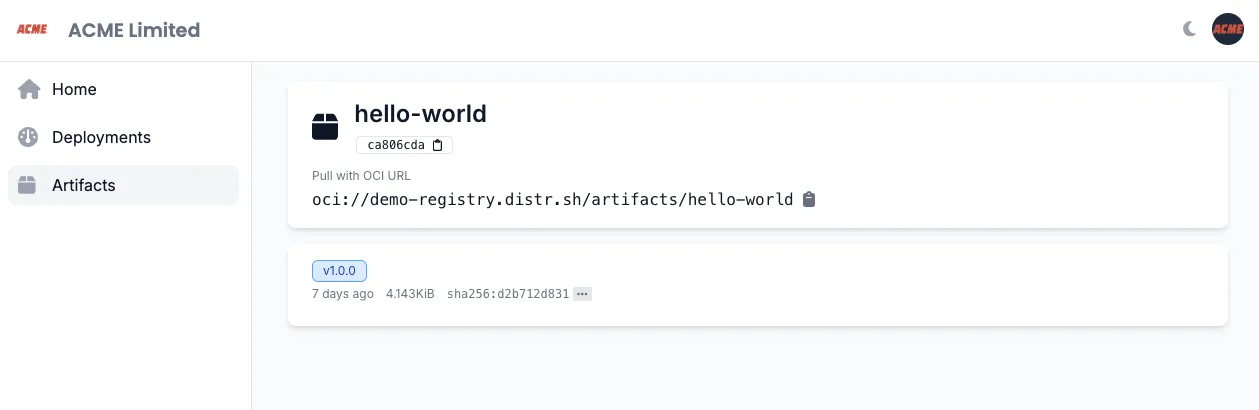
Section titled “2. View Available Artifacts”Browse the artifacts your vendor has made available to you in the artifacts section:
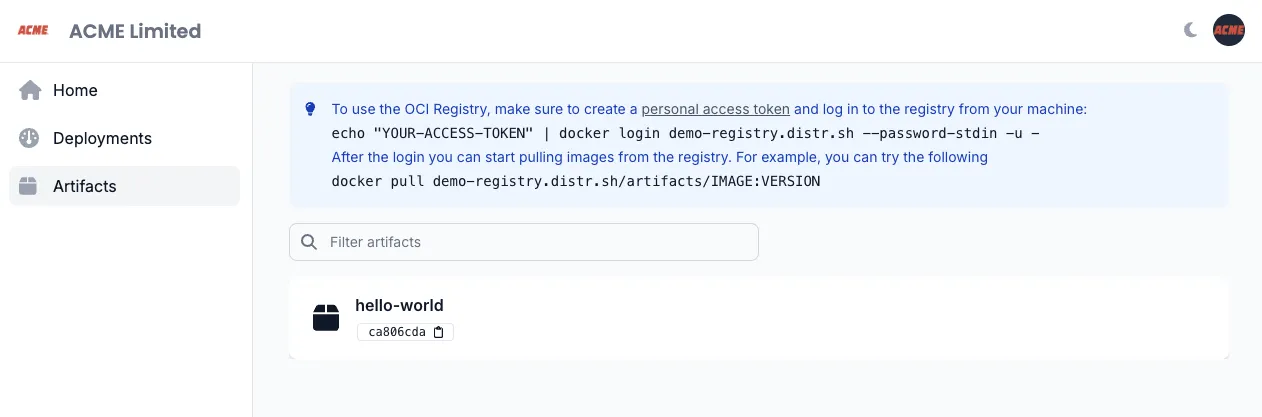
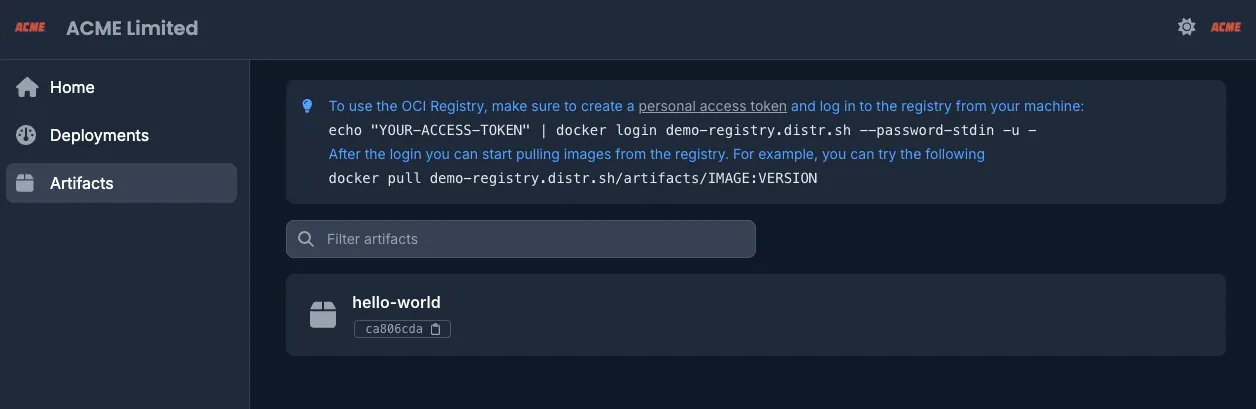
In this example, the vendor made to a single artifact called hello-world available to the end-customer.
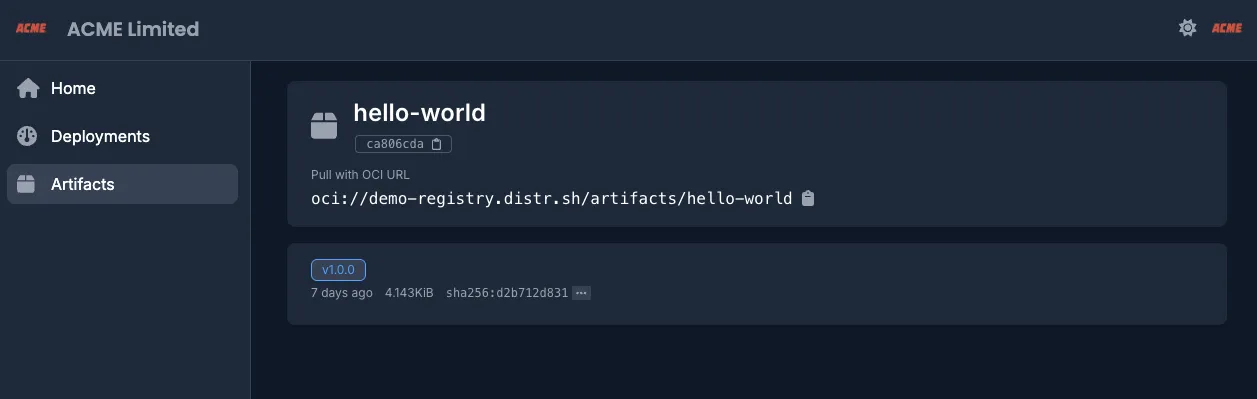
3. Explore Artifact Details
Section titled “3. Explore Artifact Details”Click on the artifact name to see details like available versions, creation date, and a download counter:
4. Authenticate with a Personal Access Token
Section titled “4. Authenticate with a Personal Access Token”Generate a Personal Access Token (PAT) in your Distr account and use it to log in:
echo "YOUR-ACCESS-TOKEN" | docker login registry.distr.sh:8585 --password-stdin -u -5. Pull Vendor Artifacts
Section titled “5. Pull Vendor Artifacts”Once authenticated, you can pull the artifacts using Docker, ORAS or Helm for example:
docker pull registry.distr.sh/slug/hello-world:1.0.0oras pull registry.distr.sh/slug/vendor-artifact:1.0.0helm pull registry.distr.sh/slug/vendor-helm-chart:1.0.06. Deploy the Artifacts
Section titled “6. Deploy the Artifacts”Refer to the deployment instructions in your Customer Portal dashboard or coordinate directly with your vendor for specific deployment guidance.
Deployment Agent quickstart from the customer portal
Section titled “Deployment Agent quickstart from the customer portal”Step 1: Select Application
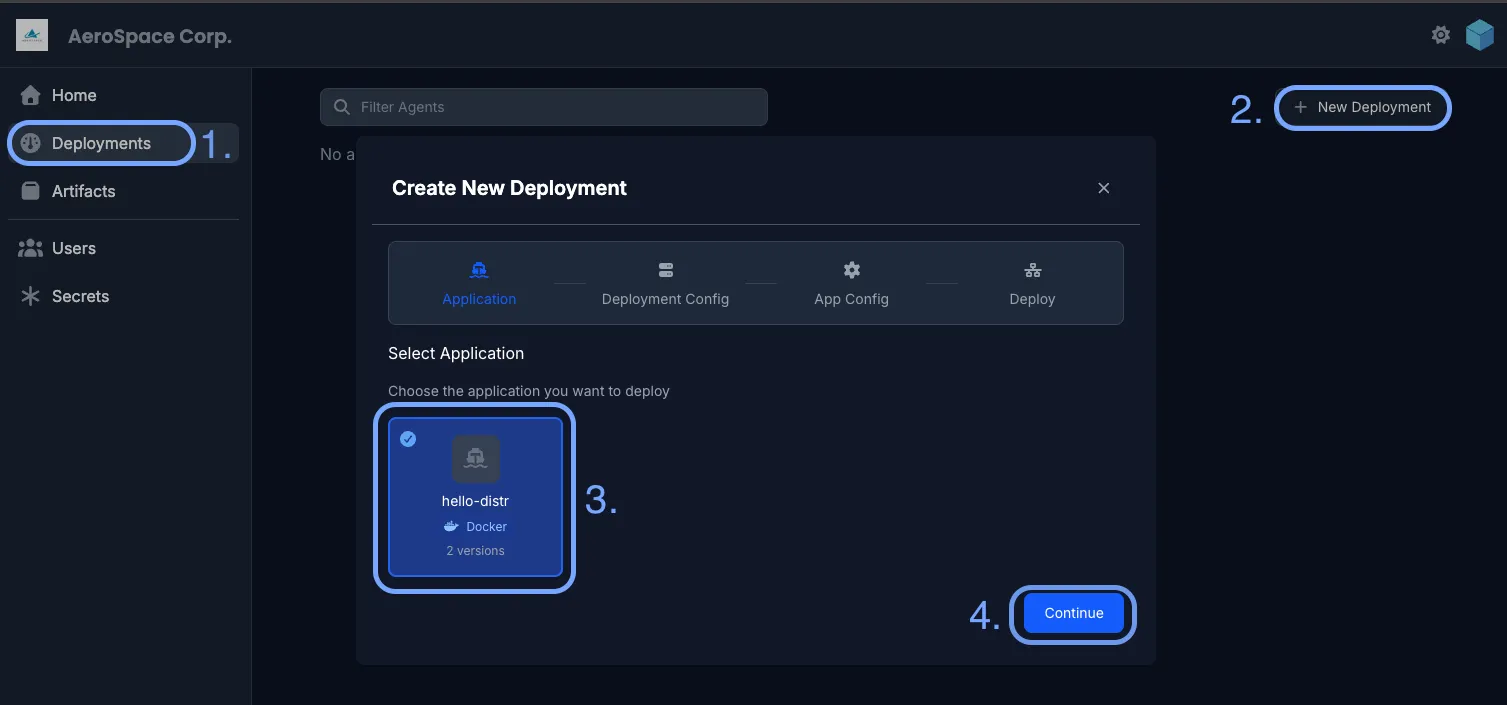
Section titled “Step 1: Select Application”Navigate to Deployments in the sidebar and click on the + New Deployment button.
Choose the application you want to deploy.
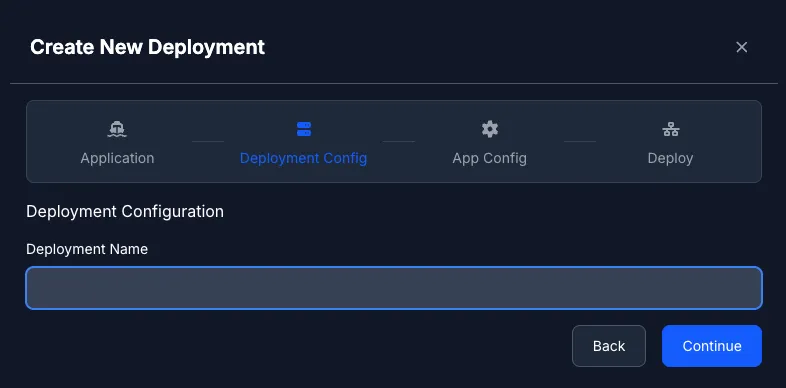
Step 2: Deployment Configuration
Section titled “Step 2: Deployment Configuration”Give your deployment a descriptive name. This name will help you identify and manage the deployment later.
For Helm applications, you’ll also need to specify the Kubernetes namespace where it should be deployed. Make sure the namespace exists in your cluster before proceeding.
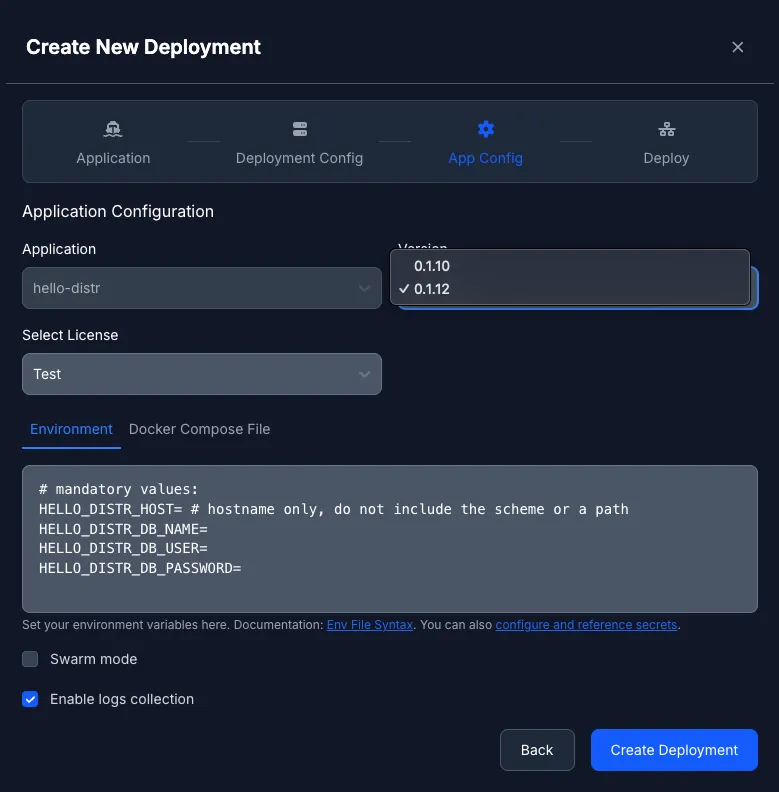
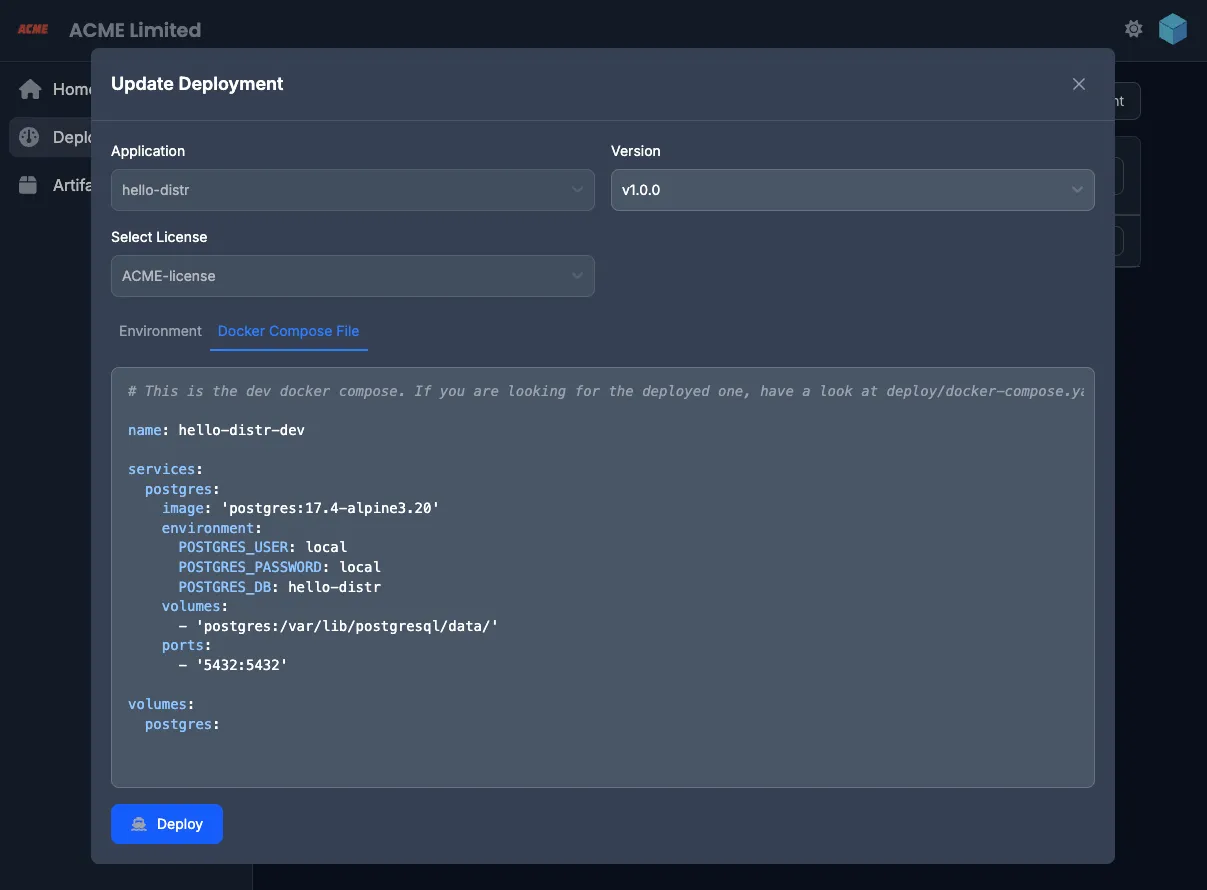
Step 3: Application Configuration
Section titled “Step 3: Application Configuration”Configure the environment variables for your Docker Compose application. These variables will be passed to the docker compose process via the --env-file argument.
The entered environment variables will be passed unmodified to the docker compose process via the --env-file argument.
For more information on how to use them, please refer to our guide on working with environment variables.
You can also enable Docker Swarm mode for deployments that should run in swarm mode. See Docker Swarm for more details. Additionally, you can enable container log collection to view application logs directly in the portal. Learn more about Container Logs.
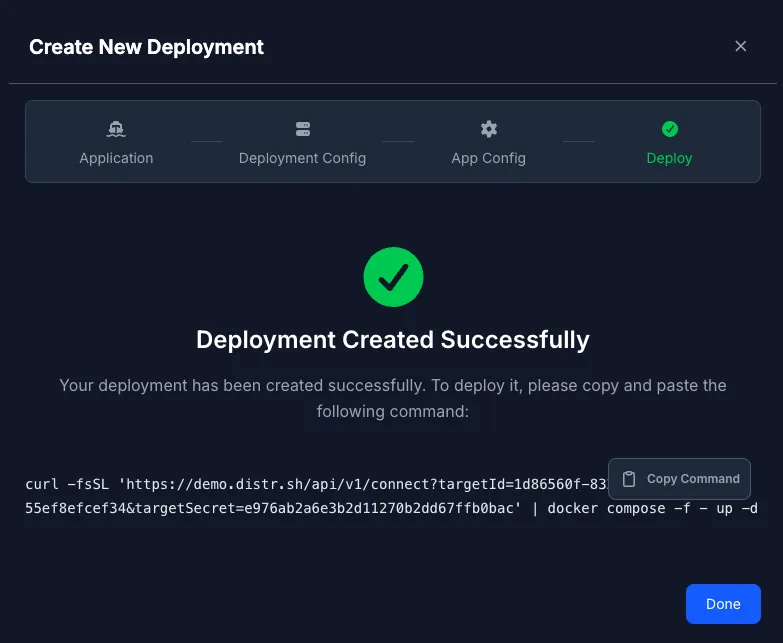
Step 4: Deploy
Section titled “Step 4: Deploy”Review your configuration and click Create Deployment to proceed to the deployment page.
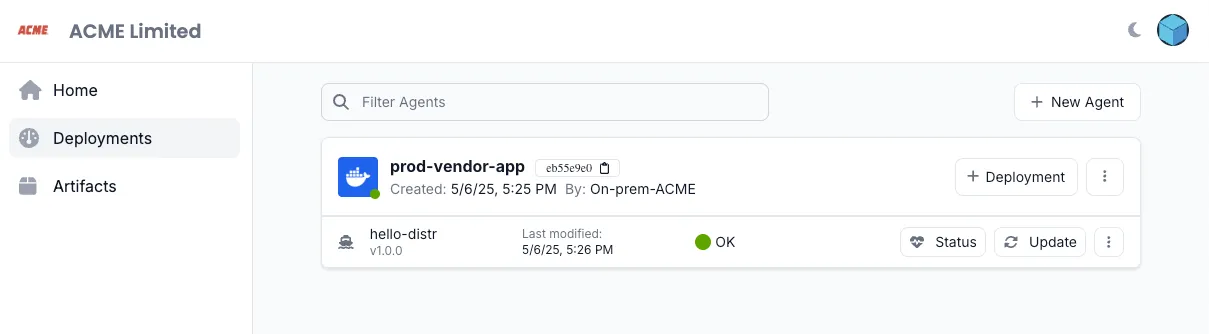
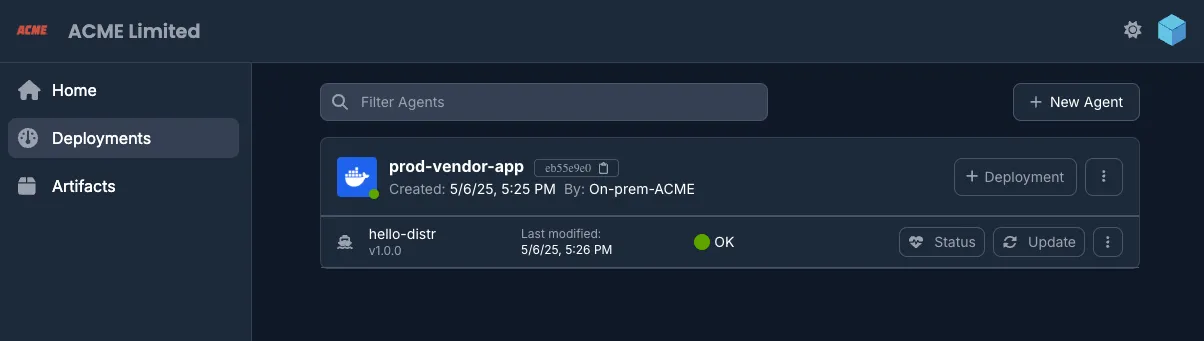
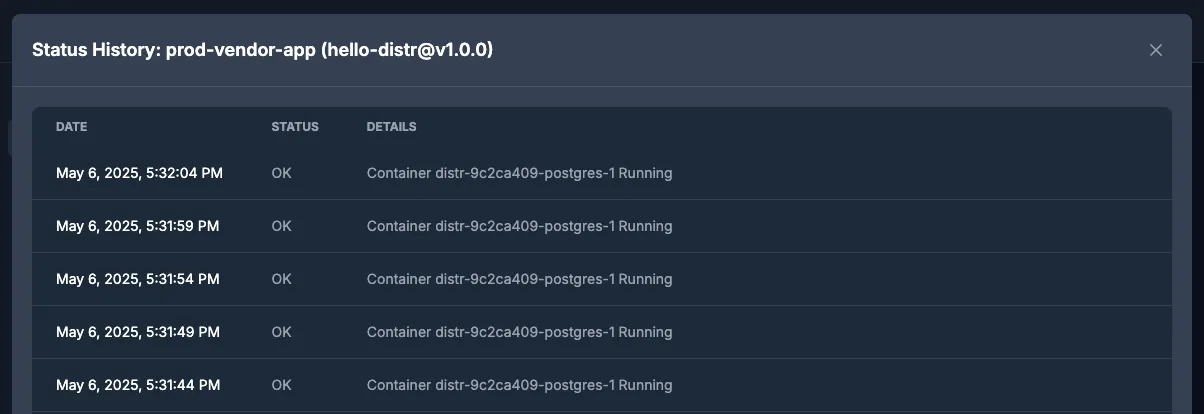
5. Monitor Deployment Status
Section titled “5. Monitor Deployment Status”View real-time updates as your deployment initializes.
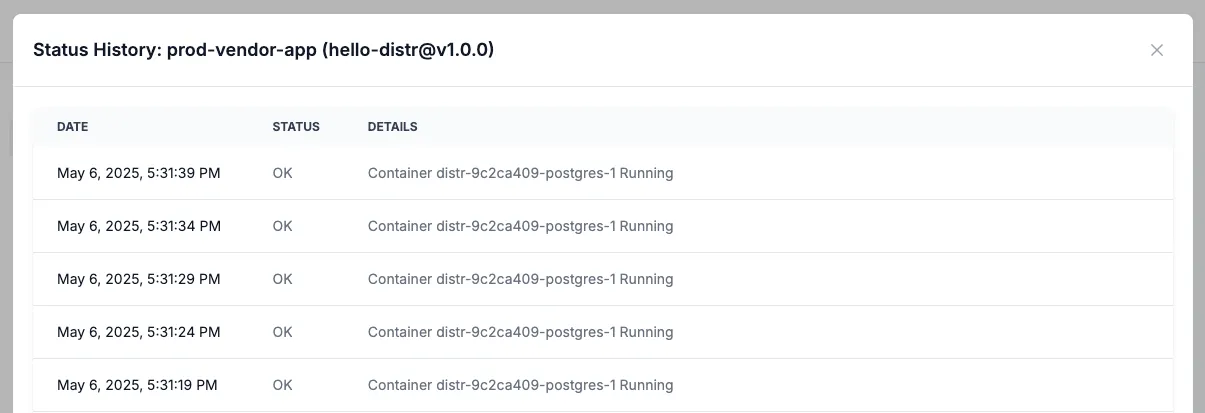
6. Access Environment Logs
Section titled “6. Access Environment Logs”Click on the status button to view application logs directly from the portal.
7. Update Deployments
Section titled “7. Update Deployments”Modify configuration values and update running deployments as needed.

Important Notes
Section titled “Important Notes”- A single agent can manage multiple deployments in the same target environment
- To remove a deployment, first undeploy it before deletion